Showing posts with label repurpose. Show all posts

Monday, June 24, 2013

The Pallet Daybed

 The Pallet Daybed

We started with two pallets that we got for free.  They were attached on the inside stringers with three bolts.

Legs were installed.

Small wheels added for ease in moving.


Skirt boards were installed to give better stability.

Added cedar picket boards to attach the PVC rail.


PVC 1 1/2" pipe assembled and painted apple green.

Rail attached. Twin size air bed.


Stained wood, covered air mattress with painters drop cloth, sewed covers for pillows to match swing cushions.


The fittings needed to attach the rail system.

This piece is screwed to the wood by drilling a hole through the end and attaching a screw into the wood.


This piece is threaded onto the above piece.
The remainder of the system is pipe, elbows and T fittings which are glued together.

Monday, August 27, 2012

Trash to Treasure: Pet Beds


My son who told me that he was looking at a petbed (pillow) on the internet that cost almost $80. My response, I can beat that!  
I've seen these on all the DIY sites and have been itching to try this. OK here goes.


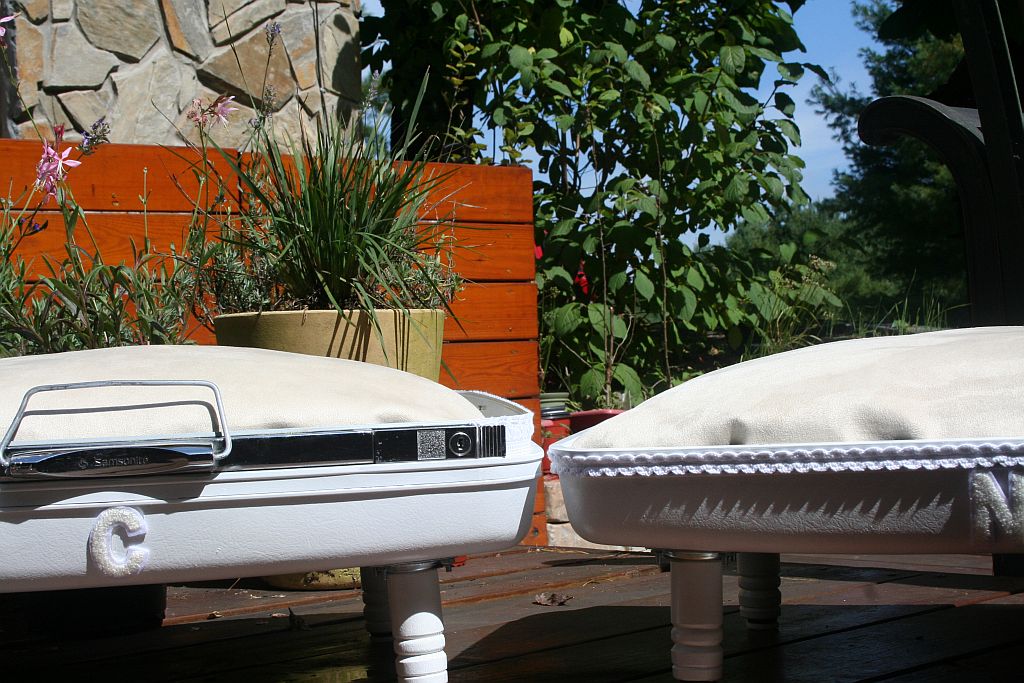
I found, at my local church thrift shop, a Samsonite suitcase. COST $1.00


Let the deconstruction begin! Removed the hinges, all the lock hardware. It took a bit of work and some help from my cordless B&D cordless drill.  Removed the liner.


                            Scrubbed cleaned the icky glue from the interior.


               A before and after.
Legs and hardware from Lowes. - $11.00 
Microsuede fabric for pillow. - $12.00
Spray paint - $3.00
Fabric to re-line bed - FREE

I taped off all the chrome on the lid and started the painting.


                  Painting completed.


I was not happy with the length of the legs. I was worried that they would make the bed unsteady.


Shorter legs should be more stable.


I wasn't happy with this look  On this one either....


So I bought some trim...much better!


I finished the liner on both beds.


All that is left to do is to add the the "fluffiness" and a little surprise for the Grandcats.


Fluffiness installed and a little customizing for each.